Creative Coding with p5.js

After taking a year to adjust to living in San Francisco, I’m back with a focus on coding. I was lucky to be student at Gray Area this past fall semester for their Creative Code Immersive. It’s one of the best learning experiences I’ve had in the past decade and urge anyone who wants to find a stronger connection to coding, physical computing, and using code to make interactive work to take the class. I’ll be posting more about my journey in the weeks to come and as I complete my final project.

After having the week focusing on learning p5.js at Gray Area, I was able to create a 5-week unit with my 7th grade students. I would’ve been nice to have a few more weeks to have them create a proper project but it was amazing to see how they were able to grow within that short period as coders. It was also the first time they wrote their own code instead of using drop-down coding platforms.

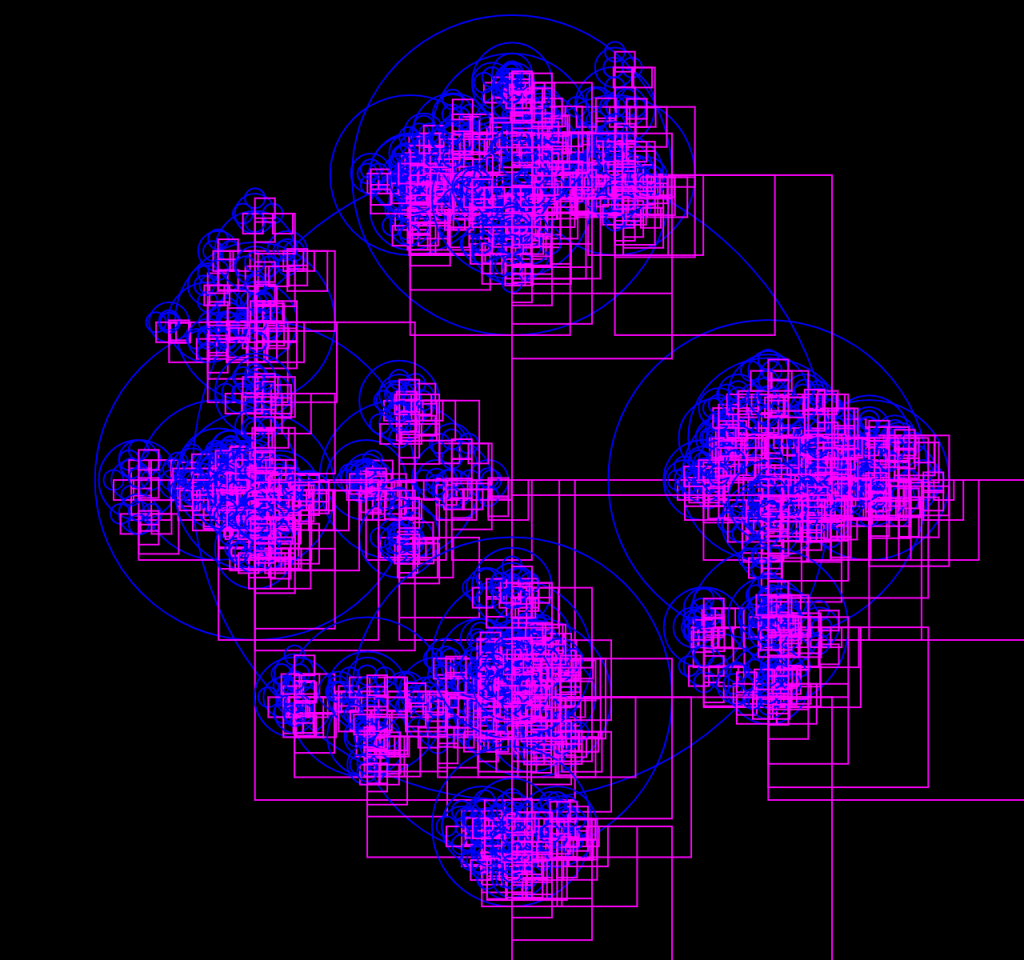
The first week had a lot of students deleting essential aspects of the coding platform like the setup loop as well as the draw loop and so many curly brackets disappearing. By the end our time together, they barely had any of those issues and they were even able to use the reference guide as a way to experiment with their ideas. As a class, they managed to learn functions but we never had the time to get to loops. Here’s a file to the presentation I used to get us setup. Event the first week of playing with RGB colors was a blast!

Previously to learning p5 at Gray Area I had found inspiration in Angi Chau’s work with the Processing Foundation as a way to structure my classes. Nikki Selken, a teacher and educational consultant at Gray Area also did a wonderful job of framing p5 in our week together too. As a female educator, it’s amazing to have two female educators acting as inspiration for myself while embarking on a new coding journey!

STEM Collaborative Climate Projects

This year the 7th grade science teacher and I collaborated together on the culminating climate research projects. As the students were researching various topics, they worked with me to design and conceptualize visual models using Tinkercad, Illustrator or Adobe Animate. It was exciting to see them take their research to the next level by communicating information visually. We had worked up to using Illustrator and visual communication on previous projects and this gave them the chance to take their skills to the next level. Part of me wished I had them all use Animate for their models but I think it is important to give students choice when it comes to creative projects, especially for differentiation.

Design Thinking using Tinkercad

This year I’ve engaged with Tinkercad in a new light which has been fun for both myself and my students. 5th graders are so good at being flexible in their thinking so we delved into Design Thinking to help them develop empathy as designers.

To get them started I adapted the 5 Chair Challenge from the Stanford Design School. I’ve tried to do this activity on using physical materials in years past but found it to be much more successful using Tinkercad, especially since I’m teaching students on Zoom. I would drop the design prompt into the chat and then give them 10 minutes to make a design. Once the time was up, they would go around the Zoom room and share. They LOVE sharing their designs and it is a highlight of the experience.

For example, here’s one of the prompts:

Grandpa is an old man who is achy and sometimes a bit grouchy. He
has trouble getting around, so he walks with a cane. He also has difficulty
getting into and out of his chair, though he sits in his chair most of the day.

I always end the activity with highlighting how they all had the same prompt but all problem solve and use their imaginations uniquely from each other. When I come into class and tell them we’re doing a design challenge together, they get quite excited. The classrooms also get very quiet because they’re focusing so deeply!

Iterating with Illustration

To shake up my curriculum this year with all of the Covid constraints and not having a makerspace to utilize, I’ve been leaning pretty heavily on using Illustrator for my 6th – 8th grade classes. I’ve always struggled with getting my students to get playful with the iterative process and using Google Slides as a digital workbook has been a real boon to the process.

To kick off my Illustration Unit with my 7th graders, we watched the Netflix Abstract episode featuring Christoph Niemann. Since my students are all native New Yorkers it was fun experience their reactions to the sections on his love of the city and how he’s used it as inspiration for his work. I rarely watch hour long pieces with students but as I stopped the episode throughout to ask questions, it was amazing to see how engaged they were on how he played with his illustrations and was constantly experimenting.

At the beginning of the episode, he shows a little book that uses a flat iron image as a creative exercise. I then turned that exercise into a Google Workbook where my students had to drop in each iteration for all the images I was asking them to make a variety of iterations with.

It’s been so much fun checking their workbooks after class to see how they’ve transformed the flat iron, really quite delightful. Seeing their Illustrator skills progress and their ability to be fluid with their creativity and not as fixed on being finished is also a real win. They’ve transformed the flat iron into things like a blender, panini press, shoe and sewing machine all on their own.

After they utilized the flat iron image, I also gave them a lightening bolt, a bullseye and plus sign to experiment with. The lightening bolt was definitely the hardest. The Google Illustration Workbook is below for you to take a look!

If you want to take a look at the workbook, you can take a look here.

Branding Project in Illustrator

A logo I created while sharing how gradients work.

During distance learning, I reached into my bag of tricks to come up with a new unit on Branding for my 7th and 8th graders. I used this unit to also introduce students to the gradient tool, text on a path as well as how to create a scatter brush. After giving them a presentation where we looked at the evolution of logos for iconic brands such as Coca-Cola, Pepsi, McDonald’s, and Apple, students were tasked to create their logos for a business I assigned them. Because I’m such a deep believer in iteration, I asked each student to create three versions of their logo to help with their experimentation and to mimic the work graphic designers do.

Another example for students.

I gave students businesses such as a fast casual Italian restaurant, coffee shop, travel story and garden store. It’s been fun to see how they’ve used the power of Illustrator to their advantage. I do think my students are getting sick me saying that sometimes our first idea helps to clear our brains out for the next idea which is generally stronger and more interesting. I also shared the font website, dafont.com with them to get them excited about fonts. I’ve definitely spent way too much searching for the perfect font and it was interesting to see which students also saw how important a font design can be while designing a logo.

Adapting a Makerspace Curriculum During a Pandemic

A representation of my Brooklyn brownstone.

When Distance Learning started it was hard to adjust mentally from teaching a space filled with tools and resources into teaching out of a studio apartment with not many materials. For my 5th and 6th graders who were learning Tinkercad, I realized I was given a huge gift by having it as a learning resource. I started thinking of it as a tool to design models and blueprints rather than as a way to 3D print designs.

The first project I created was to have students put on their architect hats to design buildings of their choosing either recreating something they love or using their imagination to build something new. They were thrilled to design on Tinkercad without size or detail constraints.

I’ve structured my classes so in the beginning we either look at a slideshow together to discuss the project at hand or I have them review the project requirements as a group. They then work on their projects while I screen share my version of the project they’ve been assigned. I also let them as questions and share their screens if they need my input on their design. Lastly I reserve the last 10-15 mins for each student to share their screen so the rest of the class can see their work be inspired and so I can hold them accountable for the class time.

We then moved on to thinking about Interior Design. The project my students are working on now is designing their Dream Spaces. They are required to have 5 pieces of furniture, a floor and walls and make sure it’s functional for the activities the space is designed around.

My Dream space. Who doesn’t want to slide to get downstairs!?

Distance Learning & iStopmotion

Throughout Distance Learning and the Covid-19 pandemic I’ve been pretty lucky to have technology at my finger tips thanks to the school I work at. My favorite engagement activity with students has been with a stop-motion animation workshop using the app iStopmotion. It’s sadly not free but costs $9.99 but is definitely worth it.

I love you can easily bring household objects, toys, food or any that’s inanimate to life in how the app provides onion skinning so you can see shadow images of the last picture you took. The most important thing to remember when doing anything with stop-motion is keeping your camera still. I used a can of beans to hold up my iPhone so the animation appears seamless. My demonstration animation utilizes items from my kitchen. You can also easily export your project and then bring it into iMovie on the iPhone or on a computer to add titles and sounds!

Illustrator for Self Portraiture

During these days of distance learning, maker educators are all having to be flexible with their curriculum. I live in about 200 square feet in Brooklyn and I definitely didn’t have even tape in my apartment when my school decided to close due to Covid-19. I am incredibly lucky that my students all have their own MacBooks as well as Adobe Creative Suite, giving me options on how to pivot my Digital Arts Class.

For my 7th and 8th grade classes, I decided it was time to think about using Illustrator, but not with a focus on using it was a tool to design projects for the vinyl or laser cutter. I’m thinking this as a way to strengthen their connection to using Illustrator as an artistic vector based tool. My first prompt was to use Illustrator to design a portrait. I required them to use the different shapes tools and to not rely on the brush tool because there’s a loss of control when using it on a trackpad.

My school is using Zoom for distance learning and I’ve found it wonderful to start a lesson with a Google Slide presentation to set up the project. I started with this project with self portraits by Van Gogh, Frida Kahlo, Basquiat, Gustave Courbet and Picasso to show students they can portray themselves in more a more abstract setting if they preferred. I made a point to discuss backgrounds and how they can help with self-expression and hidden meaning. After the slideshow, students get to work while I also work on the project and if they have questions they are allowed to share their screen. The last 10 minutes of class has been students sharing their screens to share their progress. I like doing this because it holds them accountable for the 20 minutes of work time. So far the projects have been amazing!

Construct3D 2020 & Empowering Girls in the Digital Fabrication Process

Over President’s Day weekend I had the opportunity to attend the Construct3D Conference at the Rice University campus. I must say all the sessions I attended truly enlightened me and ignited my passion for 3D design and printing in the classroom. Hearing how 3D printing is involved in the films created by Laika Studios, medical schools, prosthetics and K12 classrooms illuminated how far this practice has come and how much is still possible in the future. I also loved how Gary Stager talked about using prompts in the classroom with project-based learning. Definitely going to be keeping that in mind as I introduce different projects!

While I was at the conference, I gave a 10 minute talk on Empowering Girls in the Digital Fabrication Process. It was fun to share my experience in the classroom with other educators, especially problem solving how to create a bridge between crafting and technology. The presentation I shared can be viewed below!

A Digital Fabrication Christmas

Finished star

For the first time ever, I got my own Christmas tree. It was a spur of the moment decision to make my apartment more festive. After picking up the tree on the way home the gym, I had to figure out how I was going to decorate it. I’m a huge fan of not buying ornaments and have truly avoided it over the years because it’s just more fun to make them yourself. With 3D printers at my disposal I realized I could have a lot of fun designing ornaments as well as a star to top my tree!

I first went to work on the star and decided I wanted to be a star but also use my trusty soldering iron to get it to light up. I wanted to make the star as hollow as possible so I could make the LED inside pop as much as possible. I decided to use my favorite color changing LED’s with a battery pack with a simple slide switch. I hot glued the battery pack to the back of the star as well as some of the loose wires. I’m so excited to add it to my tree!

Next was planning the ornaments. In the past year I’ve realized how deeply I’m drawn to geometric shapes. Luckily Tinkercad makes that need of mine quite easy to execute. Since my tree is on the smaller side, I made the ornaments a bit smaller. I chose to use white filament because I love the matte look it provides. But I also went crazy and decided to see how glitter looked on them. They look more crisp without the glitter and it’s fun having a blend of some with and without the glitter.